
Today I'm going to be doing a review on the Live Colour XXL hair dyes. I have been using these dyes from pretty much the first time i dyed my hair, almost a year ago. I have always used reds, but i have now tried out the very brightest shade of red in their range. Now, i have used this dye before over bleached hair as i wanted to get maximum results, but unfortunately the roots came out orange and it was very patchy all over. So i re-dyed it in Red Passion, but after i had regrowth, i went out and bought the Real Red again.
 |
| My roots before |
 |
| The box of the dye |
 |
| The shade/colour |
 |
| Recommendation guide |
 |
| Everything in the box: Gloves, instructions, developer, colour creme, conditioner |
 |
| Developer and colour creme. |
Unscrew the lid of the developer and the colour creme. Pierce the foil of the colour creme with the other side of the lid, the sharp spike. Pour the colour creme into the developer bottle and shake!
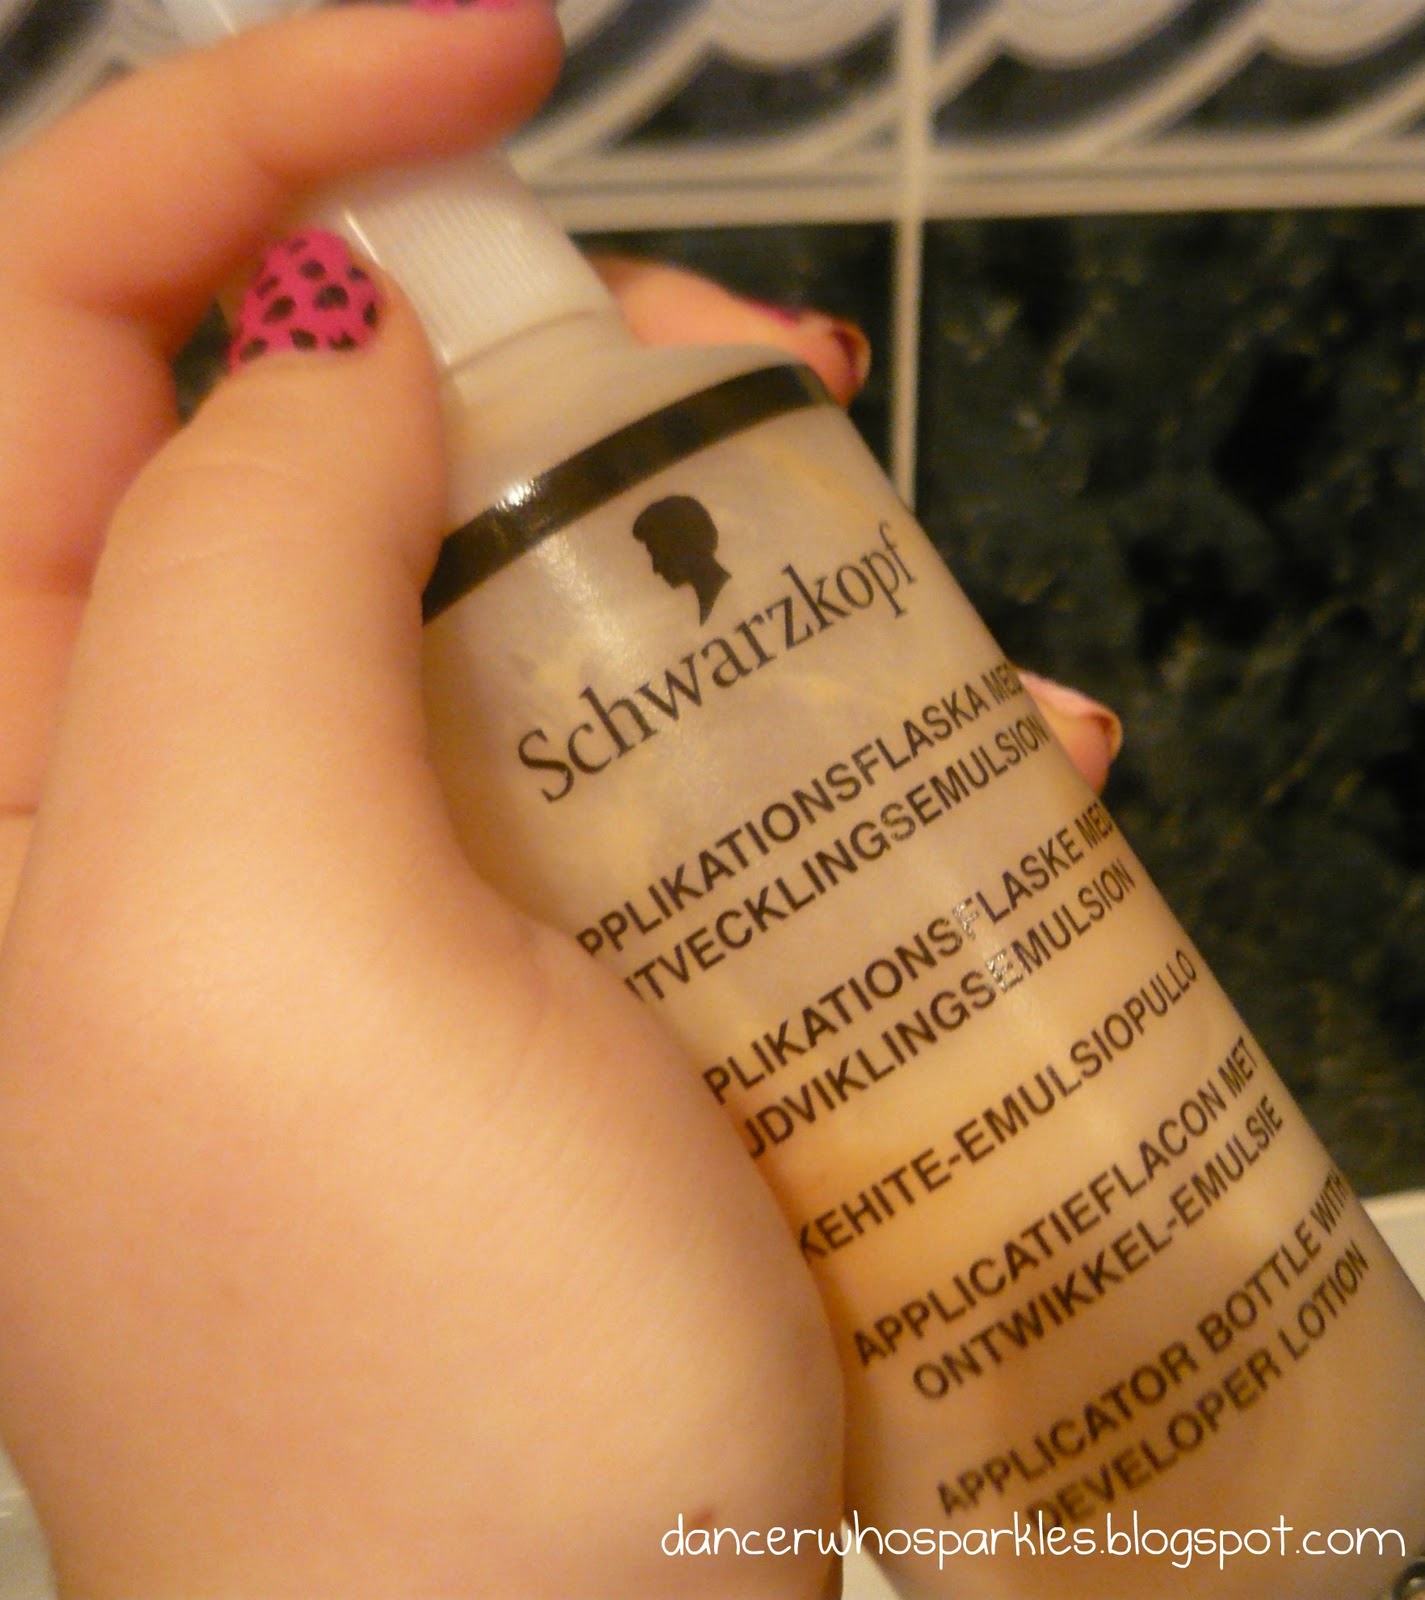 |
Shake bottle for about 20 seconds.
|
 |
| This is how it should look |
The process i am about to go through is for re-dying the roots only. I will go through what you should do if you want to dye your hair all over after. Brush all of your hair backwards, so you are sure to get every section of hair dyed. First, put it along the front hairline, and blend backwards into the hair. A tip I've picked up is to put Vaseline all along your hairline, behind your ears and the back of your neck to prevent having a red forehead, ears and neck!
Split your hair into sections, squirt a bit of dye at the roots and rub in, and repeat all over the hair. Don't forget the back of your head and underneath. Once you are sure you have covered all of your roots with dye, wait for 10 minutes to allow that to settle, then go back and use the rest of the dye over the rest of your hair. It is important that if you feel any tingling or soreness you must wash all of the dye out immediately. Leave for another 10 minutes. The reason you should do this step 10 minutes after is because you don't want to damage it further, and it doesn't overpower the roots, they should blend together. It should look a bit like this afterwards: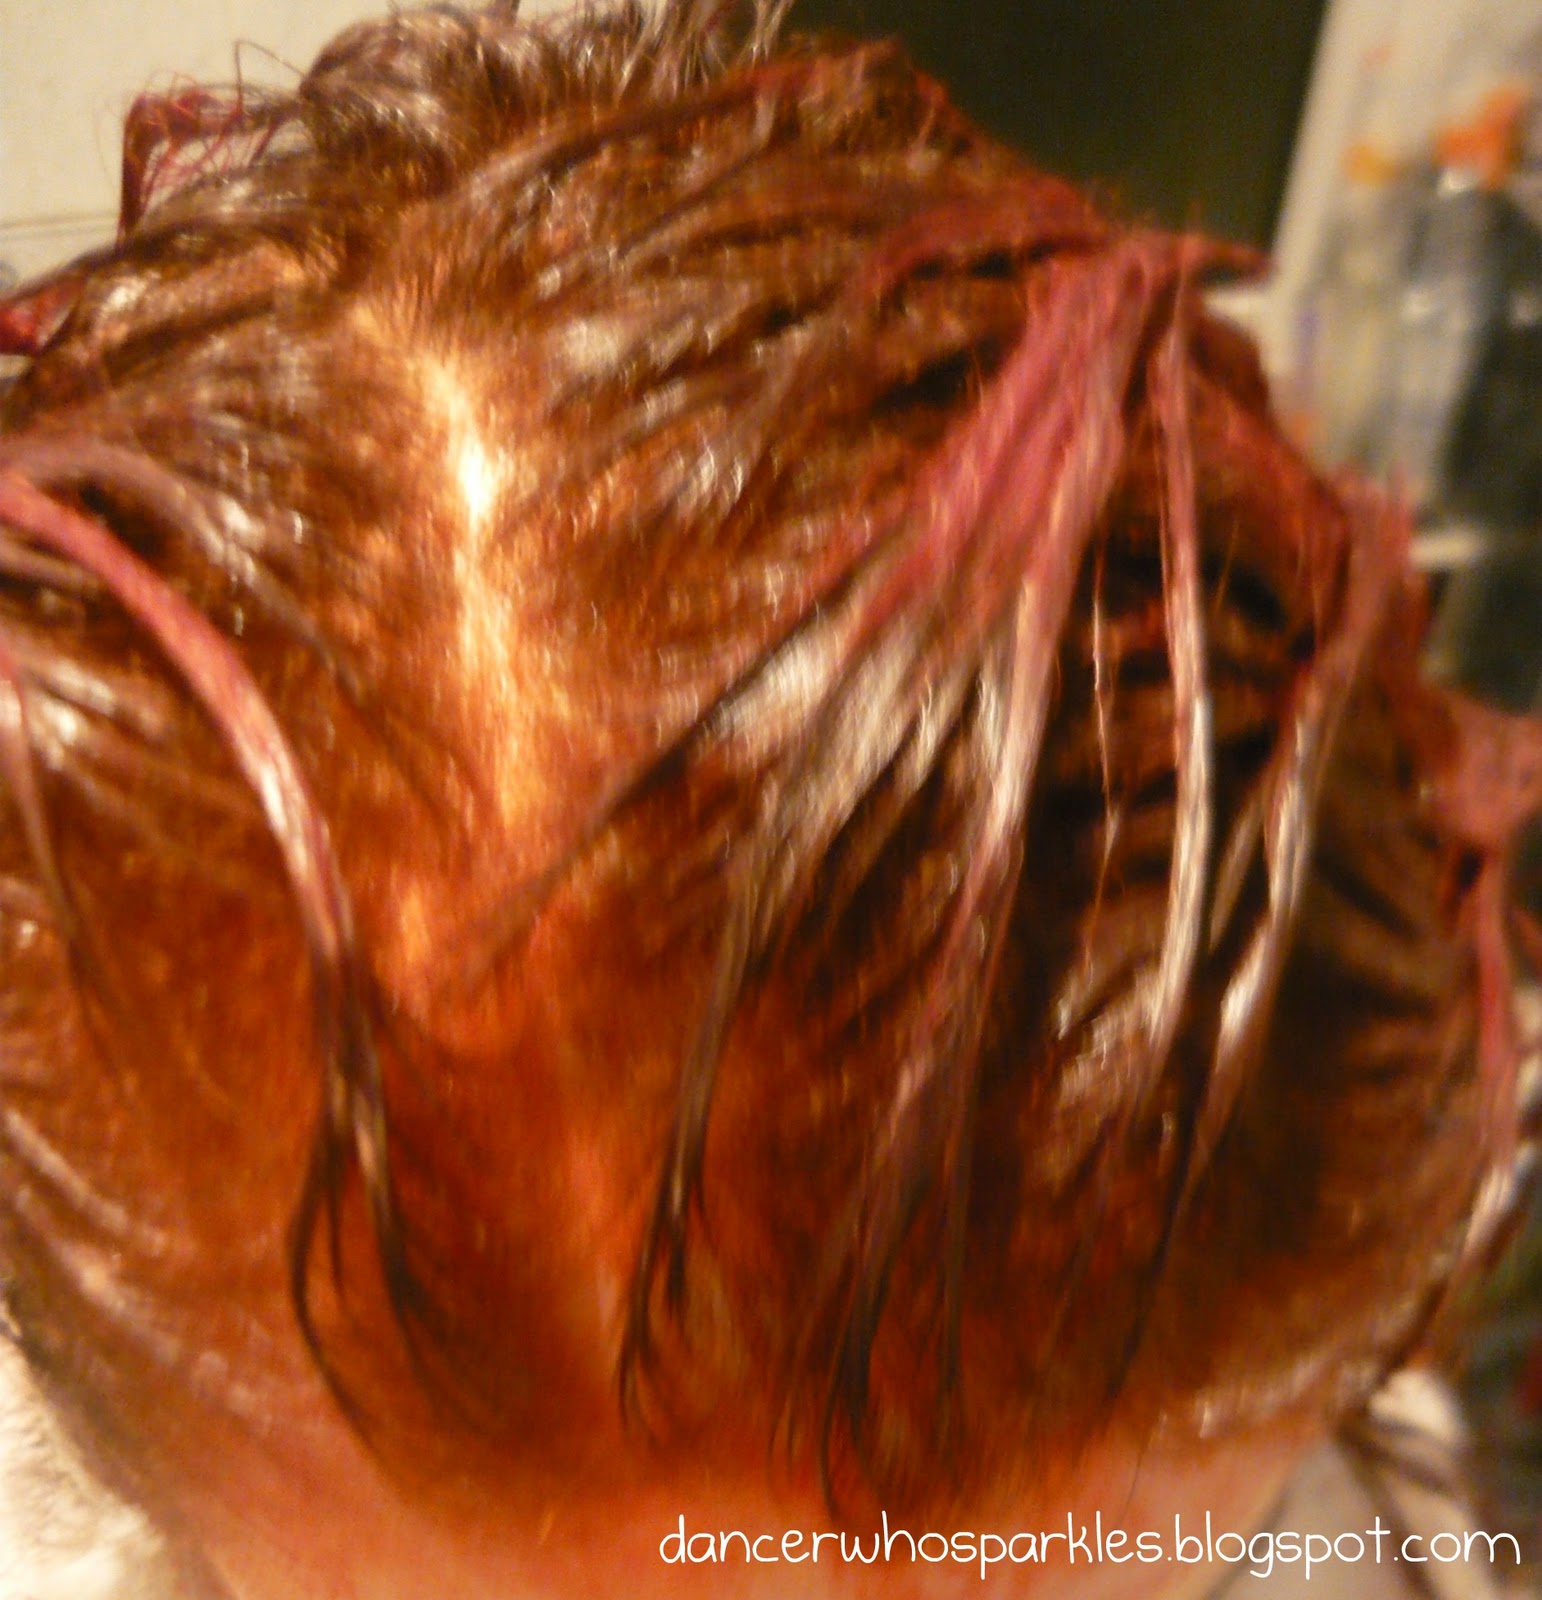
Don't worry about the roots and your scalp looking orange, it will not be that bright when you wash it out. Leave like this for 10-20 minutes, depending on how bright you want it to be, i waited 15 minutes. If you are dying all over, you should apply the dye all over your hair, then wait for 20-30 minutes. I don't have a problem with getting red dye everywhere, as red dye is famous for being messy. Just be careful where you put dye covered gloves, wear old clothes and wash any surfaces you get it on straight away. Also, make sure you don't sleep on light coloured pillows, there will be an orange transfer! Use dark pillows and towels if possible, and preferably dark tops for a few days after you dye it, as there may be some orange transfer along the neckline.
When you wash it out, the instructions tell you to wash until the water runs clear, i don't recommend this, especially if you want maximum colour, as it washes the dye away. Wash until it runs half clear, and then apply the conditioner all over.
 |
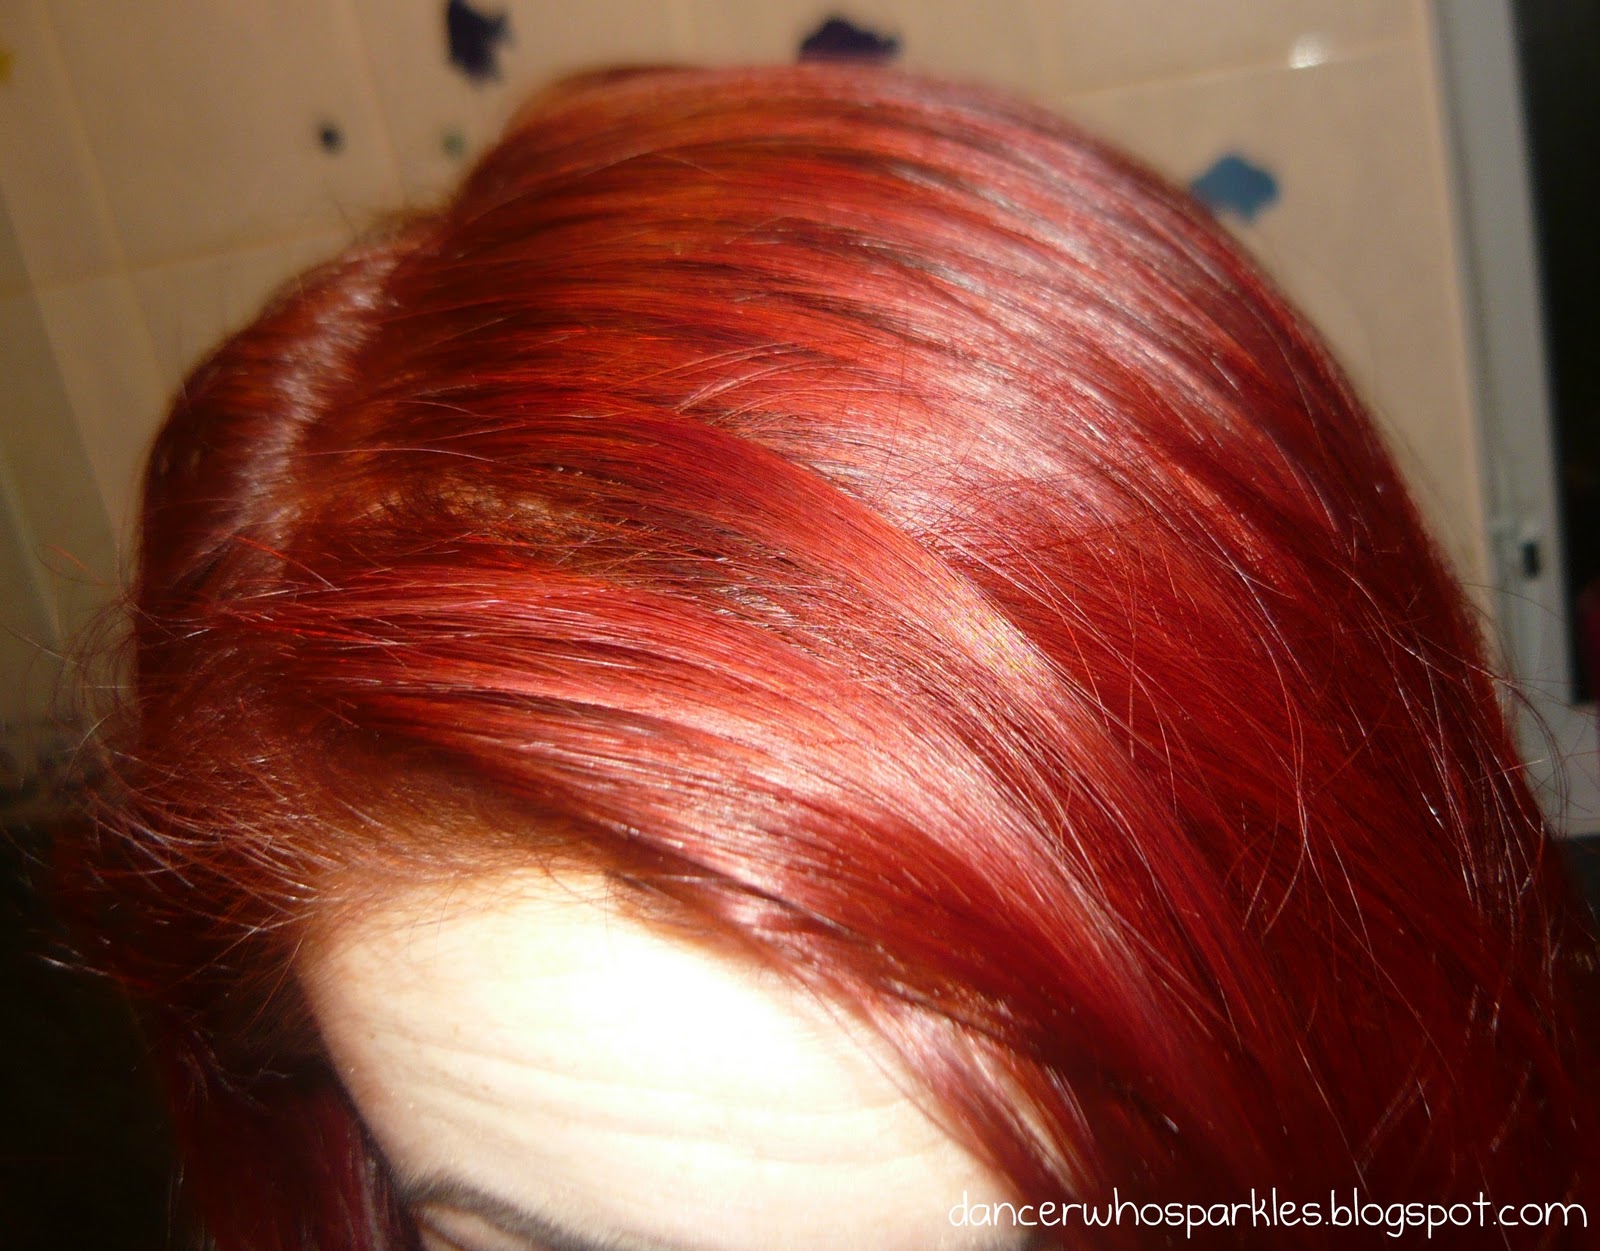
| My roots after! |
 |
| This is how my hair looked, halfway through blow drying |
If you bleach your roots before you put this dye on, your roots will be much brighter than the rest of the hair, almost orange. I didn't bleach my roots this time for that reason. However, if you look closely in daylight you can still see my dark roots, but they blend into the rest of the hair, instead of sticking out as dark brown against bright red. This is the final result.
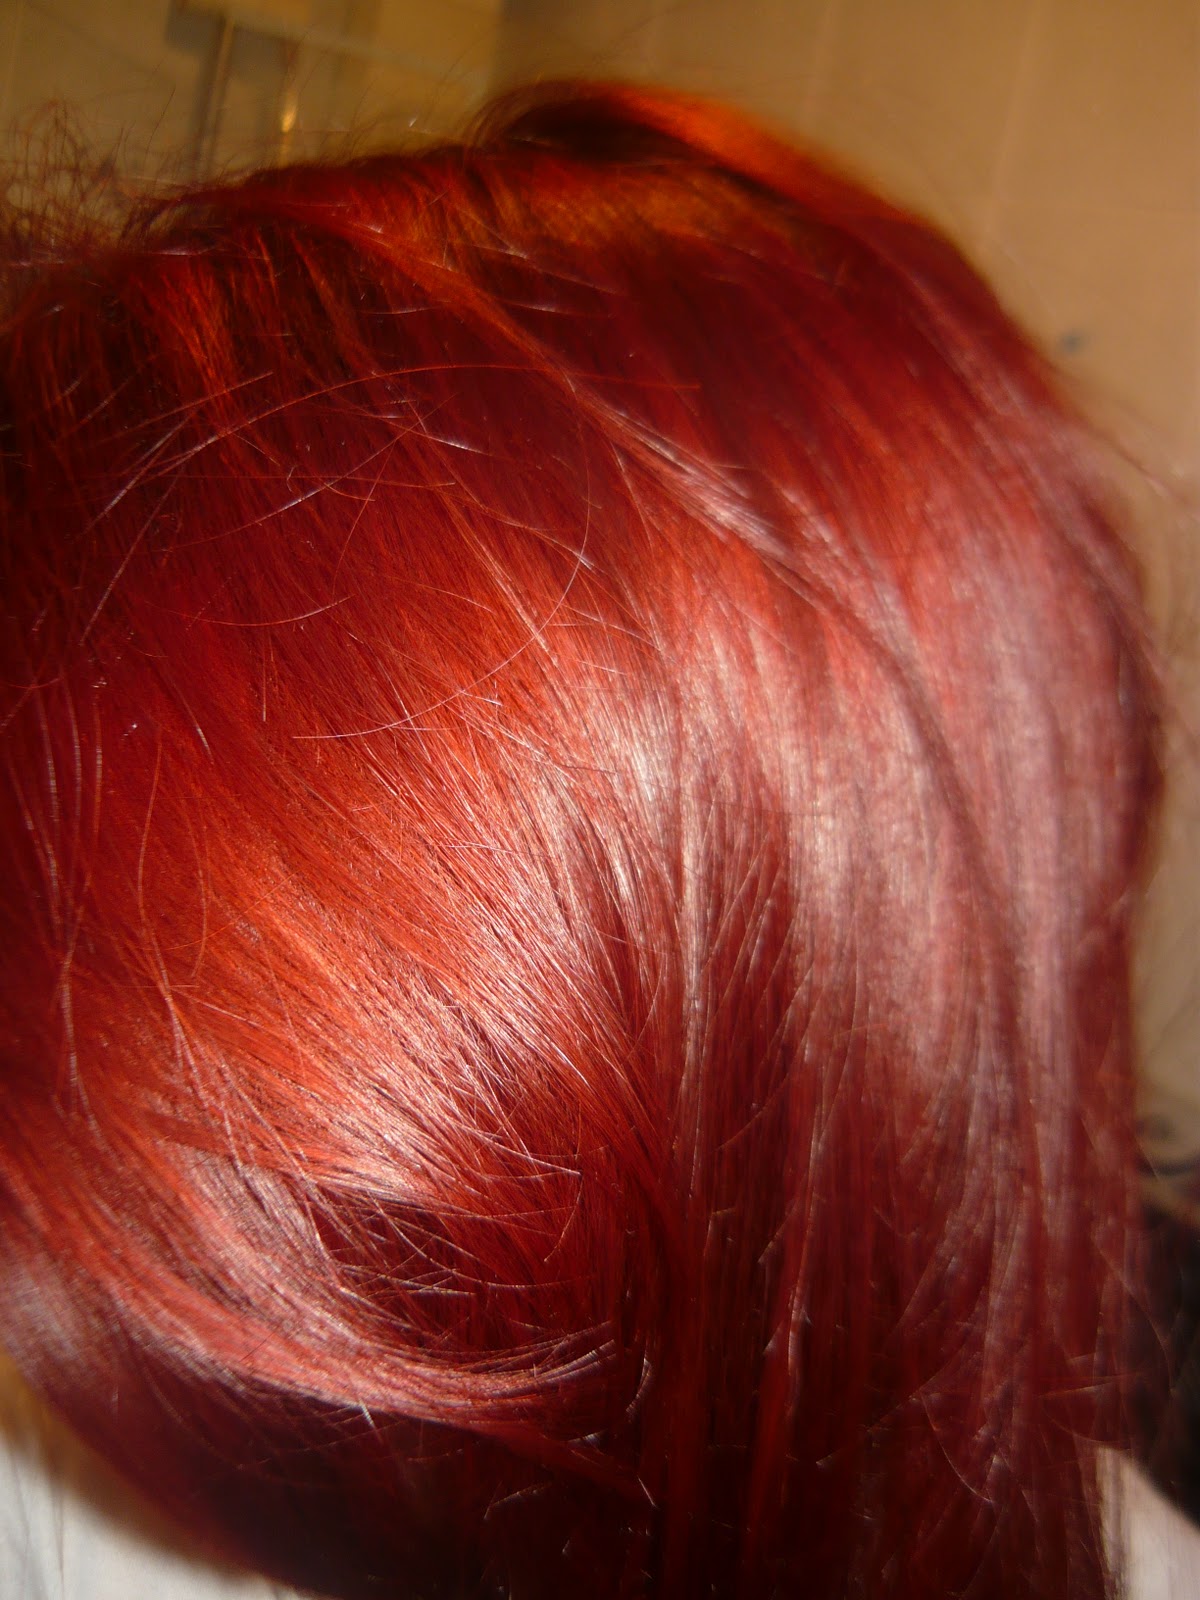
Overall i am very pleased with how it turned out. I love being a red head! Look forward to a future blog post about looking after and upkeep for dyed red hair, i will share some things i have learned to make the colour last and stay brighter for longer.
Thanks for reading, have a good day! xx